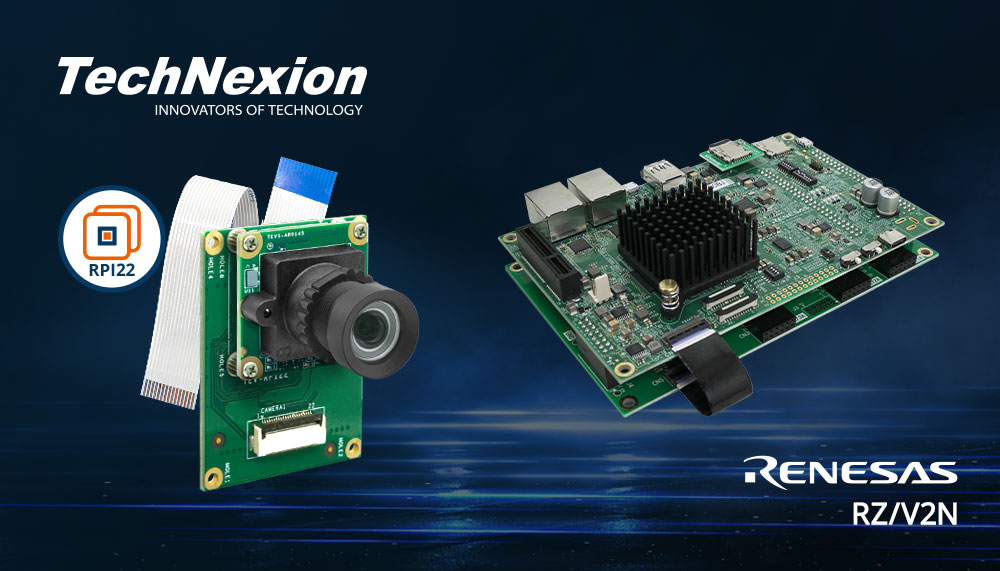
TechNexion TEVS Camera for Renesas RZ/V2H-EVK
Introduction
TechNexion Embedded Vision Solutions provide embedded system developers access to high-performance, industrial-grade camera solutions to accelerate their time to market for embedded vision projects.
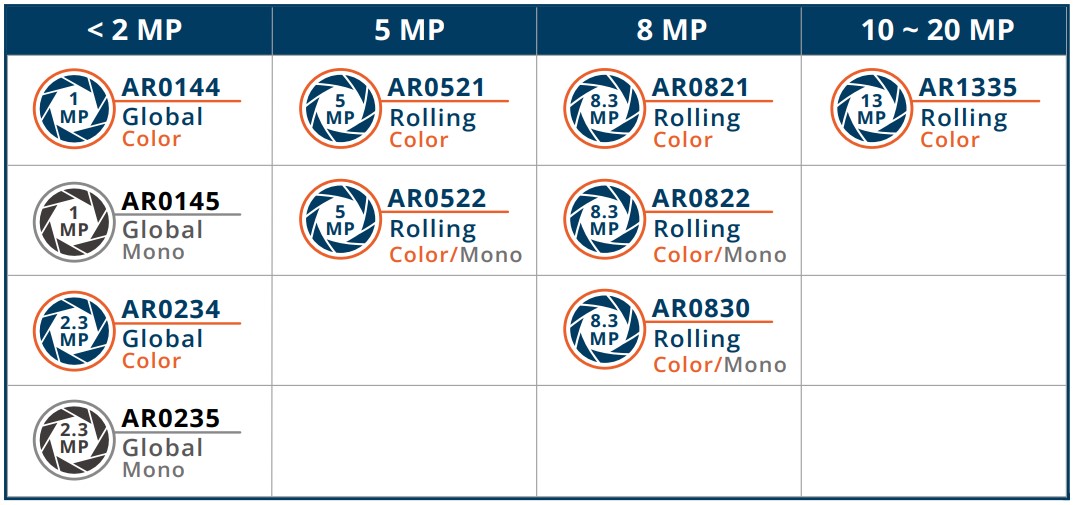
Support Camera Modules
| Camera Series | Products |
|---|---|
| TEVS | TEVS-AR0144 TEVS-AR0145 TEVS-AR0234 TEVS-AR0235 TEVS-AR0246 TEVS-AR0521 TEVS-AR0522 TEVS-AR0544 TEVS-AR0821 TEVS-AR0822 TEVS-AR0830 TEVS-AR1335 TEVS-AR2020 |
Check here ! 🔗 TechNexion Embedded Vision Solutions
Find out the solution which can accelerate your time to market for embedded vision projects.
Supported Development Kit
Support System Version
Install TN Camera on RZ/V2H-EVK
Adaptor for RZ/V2H-EVK
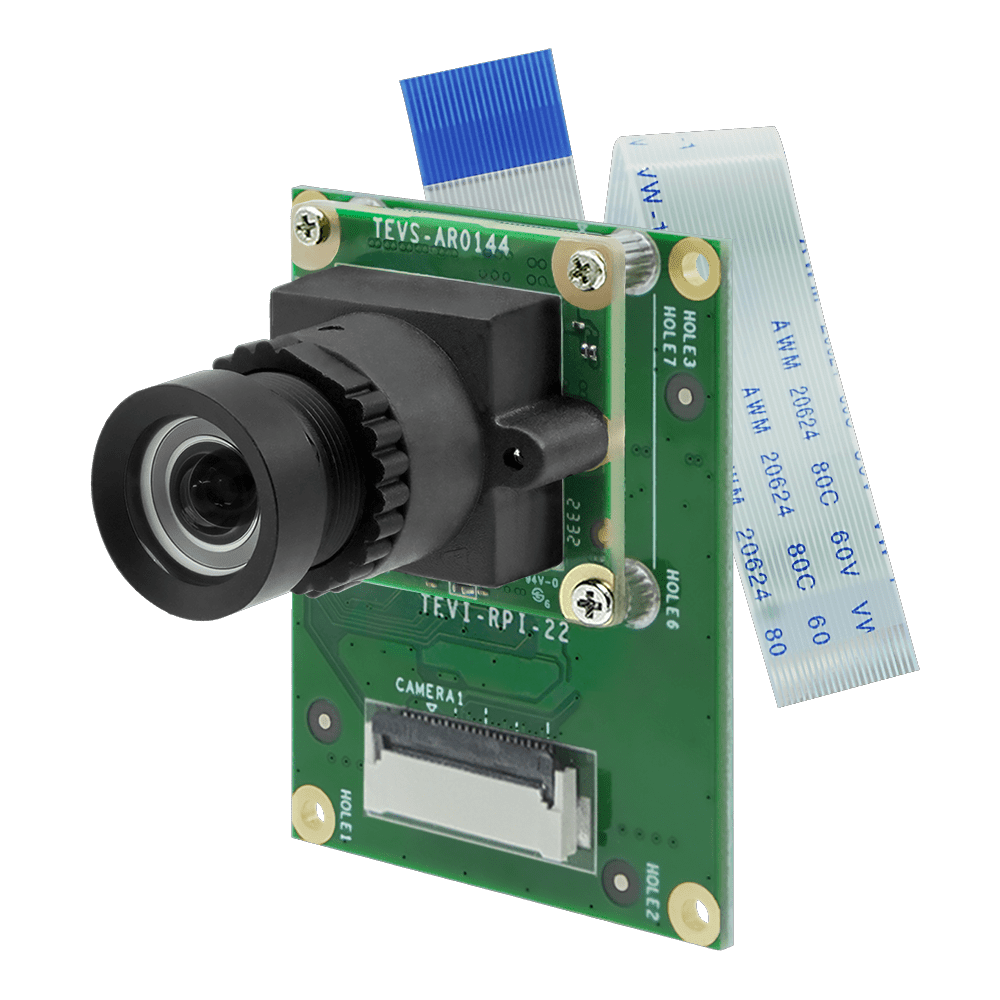
TEVS-RPI22 Adaptor for TEVS camera
Connect TEVS camera and TEVS-RPI22 adaptor to RZ/V2H-EVK - "CN7/CN8/CN10/CN9" directly.
Method 1 - Pre-built Image for TEVS Camera on RZ/V2H-EVK
We provide a pre-built image to simplify using TEVS camera on RZ/V2H-EVK.
-
Download the image from the following link.
-
Install necessary tool.
$ sudo apt-get update
$ sudo apt-get install -y unzip bmap-tools -
Extract the pre-built image.
$ unzip rzv2h-evk-ver1_yocto-ai-v3_tevs_demo_20240828.zip -
Flash SD Card with the image.
Enter the pre-built image directory.
$ cd ./rzv2h-evk-ver1_yocto-ai-v3_tevs_demo_20240828Use
bmaptoolto flash the image to the SD card.# ${device} is your device path name, such as /dev/sdb
$ umount ${device}?
$ sudo bmaptool copy --bmap rzv2h-evk-ver1_yocto-ai-v3_tevs_demo_20240828.rootfs.wic.bmap \
rzv2h-evk-ver1_yocto-ai-v3_tevs_demo_20240828.rootfs.wic.gz ${device}
Method 2 - Build the RZ/V2H AI SDK Source Code with Technexion patch
Please refernece "How to build RZ/V2H AI SDK Source Code" and follow the steps below:
-
Download the SDK source code.
-
Install necessary tool.
$ sudo apt-get update
$ sudo apt-get install -y gawk wget git-core diffstat unzip bmap-tools texinfo \
gcc-multilib build-essential chrpath socat cpio python python3 python3-pip \
python3-pexpect xz-utils debianutils iputils-ping libsdl1.2-dev xterm p7zip-full \
libyaml-dev libssl-dev -
Extract the SDK source code.
Unpack the source code archive.
$ unzip RTK0EF0180F03000SJ_linux-src.zipCreate a folder for the Yocto recipe package.
$ mkdir -p ./yocto_ai_v3.00Extract the Yocto recipe package to the specified directory.
$ tar zxvf rzv2h_ai-sdk_yocto_recipe_v3.00.tar.gz -C ./yocto_ai_v3.00
This is a optional step. If you don't need to use the graphics library, you can skip this step.
-
Download RTK0EF0045Z14001ZJ-v1.2.1_rzv_EN.zip
-
Remove the original graphics library
$ rm -rf ./yocto_ai_v3.00/meta-rz-features/meta-rz-graphics -
Unpack the source code archive
$ unzip RTK0EF0045Z14001ZJ-v1.2.1_rzv_EN.zip -
Extract unrestricted version to the specified directory
$ tar zxvf RTK0EF0045Z14001ZJ-v1.2.1_rzv_EN/meta-rz-features_graphics_v1.2.1.tar.gz -C ./yocto_ai_v3.00
-
Get TEVS camera driver patch.
Clone Technexion renessas camera driver repository.
$ git clone -b ai-sdk-v3.00 https://github.com/TechNexion-Vision/Renesas-Camera-Driver.gitCopy the driver patch to the Yocto recipe directory.
$ cp ./Renesas-Camera-Driver/TechNexion_TEVS.patch ./yocto_ai_v3.00 -
Apply patch files to fix link error.
Enter the Yocto recipe directory.
$ cd ./yocto_ai_v3.00Download and apply the required patch files.
$ wget https://github.com/renesas-rz/rzv_ai_sdk/releases/download/v3.00/0001-recipes-debian-buster-glibc-Update-version-from-2.28.patch
$ wget https://github.com/renesas-rz/rzv_ai_sdk/releases/download/v3.00/0001-rz-common-recipes-debian-buster-glibc-update-to-v2.28-10+deb10u4.patch
$ wget https://github.com/renesas-rz/rzv_ai_sdk/releases/download/v3.00/61835_update_url_gst_common.patch

$ patch -d ./meta-renesas -p1 < 0001-recipes-debian-buster-glibc-Update-version-from-2.28.patch
$ patch -d ./meta-renesas -p1 < 0001-rz-common-recipes-debian-buster-glibc-update-to-v2.28-10+deb10u4.patch
$ patch -d ./meta-rz-features/meta-rz-codecs -p1 < 61835_update_url_gst_common.patch -
Apply TEVS camera driver patch.
$ patch -p1 -i ./TechNexion_TEVS.patch -
Initialize a build in poky.
$ TEMPLATECONF=${PWD}/meta-renesas/meta-rzv2h/docs/template/conf/ source poky/oe-init-build-env -
Add layers to bblayers.conf.
$ bitbake-layers add-layer ../meta-rz-features/meta-rz-graphics
$ bitbake-layers add-layer ../meta-rz-features/meta-rz-drpai
$ bitbake-layers add-layer ../meta-rz-features/meta-rz-opencva
$ bitbake-layers add-layer ../meta-rz-features/meta-rz-codecs
$ bitbake-layers add-layer ../meta-tn -
Apply a patch fot Tesseract Open Source OCR Engine.
$ patch -p1 < ../0001-tesseract.patch -
Build the kerenl files.
$ MACHINE=rzv2h-evk-ver1 bitbake core-image-weston -
Flash SD Card with the image.
Enter the Yocto build images directory.
$ cd ./tmp/deploy/images/rzv2h-evk-ver1Use
bmaptoolto flash the image to the SD card.# ${device} is your device path name, such as /dev/sdb
$ umount ${device}?
$ sudo bmaptool copy --bmap core-image-weston-rzv2h-evk-ver1-*.rootfs.wic.bmap \
core-image-weston-rzv2h-evk-ver1-*.rootfs.wic.gz ${device}
Stream on Camera by GStreamer
Once EVK has finished booting, you will see some archives in the home directory.
root@rzv2h-evk-ver1:~# ls -l

-rwxr--r--  1 root root 3599 Mar  9  2018 gstreamer-init-tevs-4cam.sh
-rwxr--r--  1 root root 1424 Mar  9  2018 gstreamer-init-tevs.sh
-rwxr--r--  1 root root  845 Mar  9  2018 v4l2-init.sh
There are two main scripts to help you easily set up and stream from TEVS camera.
-
gstreamer-init-tevs.sh
$ sh gstreamer-init-tevs.sh --help
Usage: gstreamer-init-tevs.sh [media_node] [resolution]
[media_node]: 0 or /dev/media0 is a sample
[resolution]: 640x480 is a sample
This script requires two arguments to set up the camera:
-
media_node - The media device node.
-
resolution - The supported resolution depend on the camera.
Example command:
$ sh gstreamer-init-tevs.sh 0 640x480 -
-
gstreamer-init-tevs-4cam.sh
$ sh gstreamer-init-tevs-4cam.sh 640x480 --help
Usage: gstreamer-init-tevs-4cam.sh [resolution]
            [resolution]: 640x480 is a sample
This script requires one argument to set up four cameras at once.
- resolution - The supported resolution depend on the camera.
Example command:
$ sh gstreamer-init-tevs-4cam.sh 640x480